Your trailer side marker lights play a vital role in keeping you safe and visible on the road. If one of them fails, flickers, or shows signs of damage, it might look intimidating to replace it—especially if you’re new to owning a trailer. It’s a simple, DIY task that anyone can do with a few basic tools. Here, we’ll walk you step-by-step through the process of replacing your side marker light on your trailer. You’ll learn how to know when you need a new one, what tools to prepare, and how to install your new GO Trailer side marker light safely and effectively.
Signs You Need a New Side Marker Light
Before replacement, check if your light has one of the following typical indications of failure:
- Light won’t come on or flickers– Typically caused by a dead LED or loose wiring connection.
- Moisture, cracking, or visible damage– Tiny cracks can allow water to permeate, leading to corrosion and failure.
- Warning lights on your trailer system– Modern trailers can warn you of a failing light on the dashboard.
If you discover any of the above, it is replacement time.
Tools and Materials You’ll Need
GO Trailer side marker light replacement kit
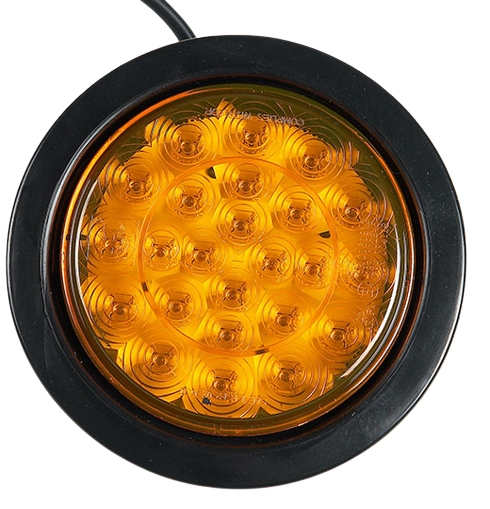
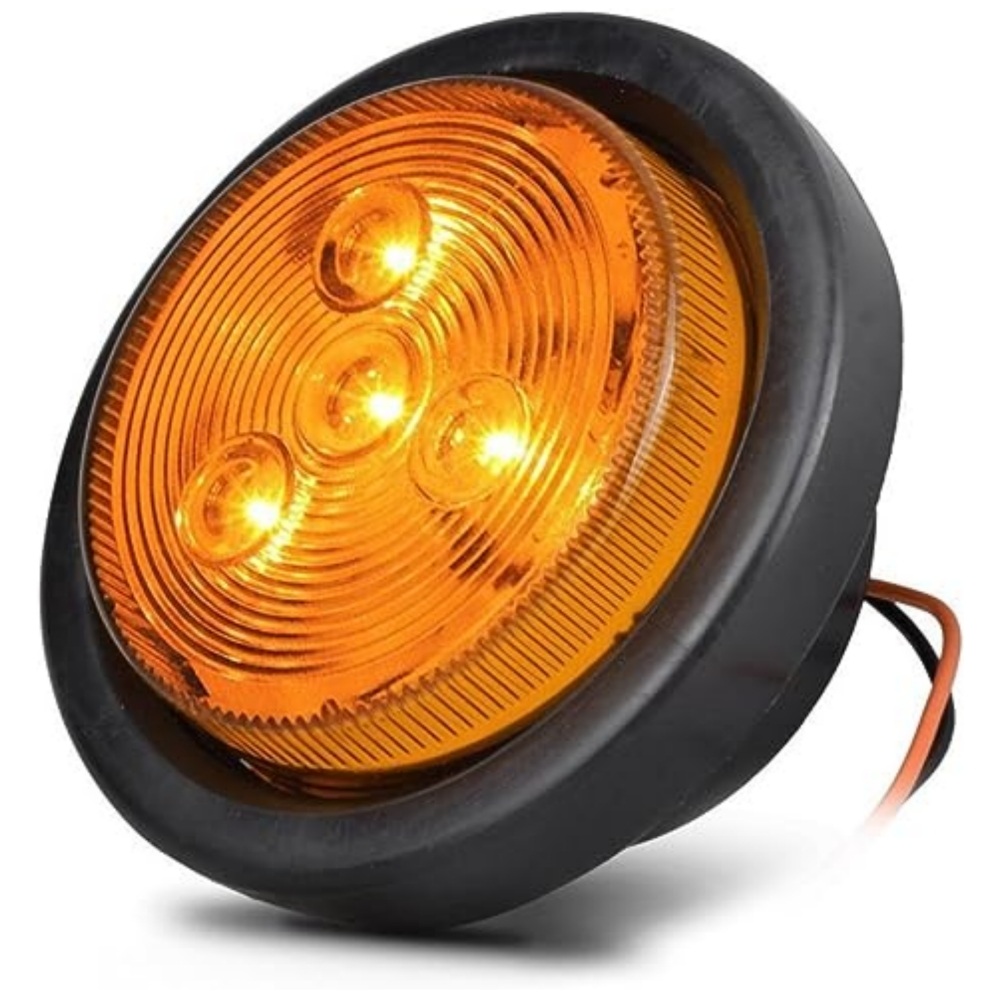
You require a quality Side Marker Light from Remolque to fulfill this function. We boast of being one of the leading trailer parts manufacturers in China. Our side marker lights consist of:
- Función: turn/side mark;
- Voltage: 12V/24V;
- Power: 3.2W *LED specifications.
This ensures reliable operation and simple installation. We attempt to provide our customers with timely, friendly, and warm service, but never at the cost of our business ethics, quality, and safety. A flat head screwdriver, Phillips head screwdriver, and maybe a socket wrench set, depending on your trailer’s mounting system, will be needed. Wire strippers and electrical tape will be needed to provide solid connections. Have a multimeter available to check voltage and verify electric flow.
Safety equipment and cleaning materials
Safety should be kept top of mind at all times. Use safety glasses to protect your eyes and work gloves to avoid cuts from sharp edges. Have some contact cleaner for electricity and a clean, dry cloth handy to clean contact points before mounting the new light.
Step-by-Step Replacement Guide
Step 1: Turn Off the Power
Safety always. Disconnect your trailer from the towing vehicle and the battery if your trailer is equipped with a battery. This prevents short circuits and getting shocked.
Step 2: Locate and Remove the Old Light
Find your defective side marker light on the side panel of your trailer. Remove the screws or the bolts with a screwdriver. Carefully pull the light housing out without tugging on the wires.
Step 3: Disconnect the Wiring
Gently pull out the existing light wires. Wires in your trailer may be color-coded:
- Red → running/tail lights
- Yellow/Amber →turn signal light
- Black/White →ground
If the wires are corroded, clean them with contact cleaner before installing.
Step 4: Install the New GO Trailer Light
Trim ends of wires as needed. Wire the new light’s wires to the corresponding trailer wires (color-to-color). Wire connectors or electrical tape should be used to hold connections in place. Insulate all for protection from moisture entry.
Step 5: Install the New Light
Install the new GO Trailer side marker light. Tighten screws or bolts securely but not excessively, because it will crack the housing. GO Trailer lights are weatherproofed for durability under harsh road conditions.
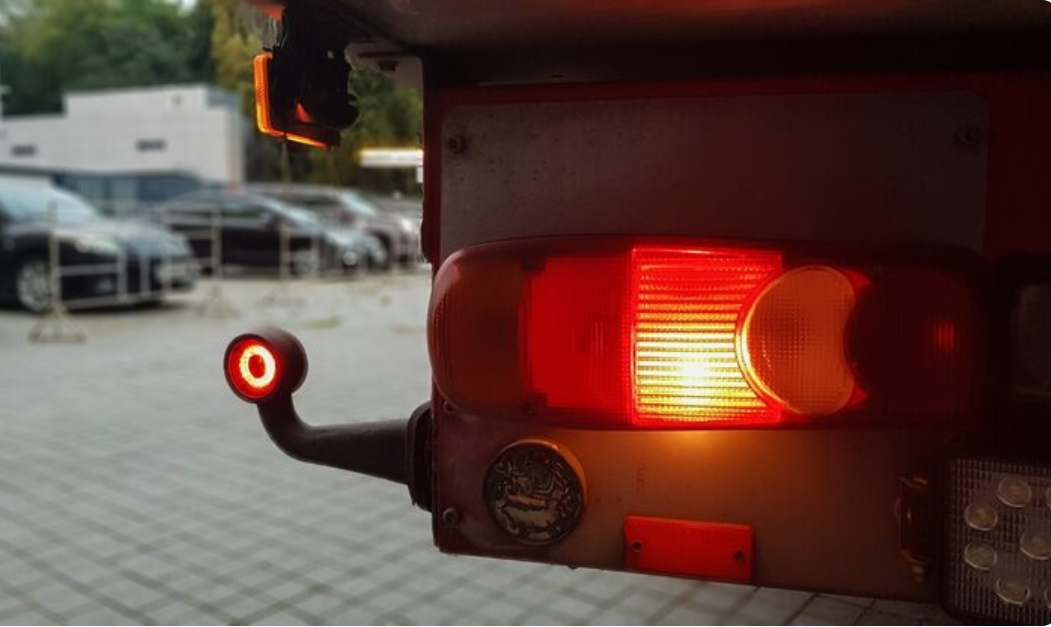
Step 6: Test the Light
Reapply the power source and turn on your trailer’s electrical system. Check that:
- The light burns brightly as a running light.
- It flashes correctly with the turn signal.
Prevention Tips for Future Light Issues
Preventive cleaning and inspection routine
Develop a regular maintenance schedule for your trailer lights and check them before every trip and after exposure to adverse environments. Clean the lenses regularly with mild soap and water to achieve maximum light output. Remove dirt, grime, or road salt that may cause corrosion or inhibit the light.
Replace with GO Trailer-approved components
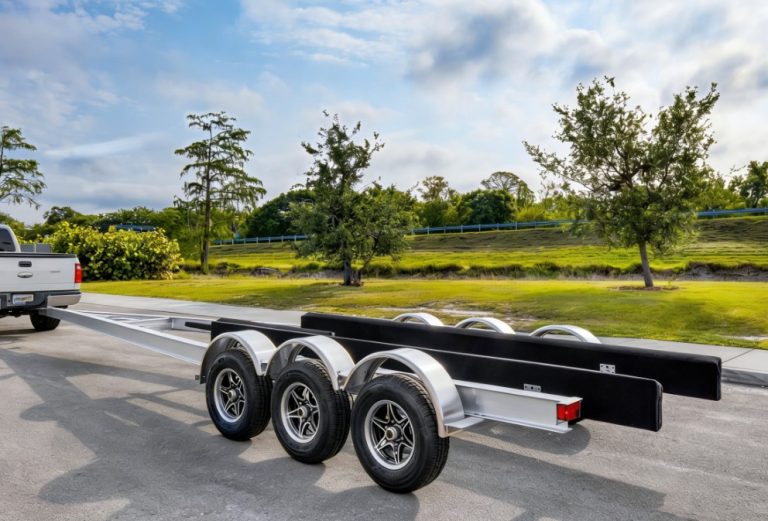
Whenever the replacement time comes, always use the original GO Trailer parts. We are mainly involved in the manufacture and sale of a variety of high-quality trailer parts from trailer dolly, jockey wheels, winches, couplers, axles, springs, steel wheel rims, tyres, etc., to trailers, i.e., boat trailers, cage trailers, car trailers, ATV/UTV trailers. Our strict quality check ensures that every part is up to our high-quality standards of performance and durability.
Park your trailer in a dry area
Park your trailer under cover in a dry area whenever you can to protect electrical parts from the water and bad weather. If you cannot store it indoors, consider purchasing a trailer cover to offer extra protection for your lights and other parts.
Why Choose GO Trailer Side Marker Lights?
At GO Trailer, we are committed to building trailer parts that are:
- DIY– friendly – Simple installation without any need for special tools.
- Durable & waterproof – Engineered to resist long-term exposure to extreme conditions.
- Certified safe– CE-certified for quality and safety.
- Flexible– Provided in both 12V and 24V models to serve general or commercial trailers.
Aside from side marker lights, we also manufacture extensive trailer accessories, including jockey wheels, winches, couplers, axles, rims, tires, and full trailers, like boat trailers and car trailers.
FAQ
Q: How long do GO Trailer side marker lights last?
A: LED lights are also gaining popularity on trailers for their efficiency and longevity. GO Trailer LED side marker lights can outlast regular incandescent bulbs by several years, sometimes lasting for years without issues.
Q: Can colored lenses be replaced?
A: Amber/Red Lens versions of the GO Trailer side marker lights are available. Prior to doing so, always establish what colors will be legal in your region as trailer lights.
Q: What is the distinction between 12V and 24V systems?
A: GO Trailer side marker lights are available in voltages of 12V or 24V. 12V installations are used in most ordinary trailers, and 24V installations are used for larger commercial trailers. Always install the same voltage as your trailer’s electrical system.
Q: Are special tools required?
A: The installation is do-it-yourself with basic hand tools. We care about treating our customers to a warm, friendly, and speedy attitude, and end-user installation convenience is our design philosophy.
Q: Where do I purchase replacement parts?
A: Our clients are geographically located in the United States of America, Australia, Europe, and other parts of the world. Our clients are primarily wholesalers, distributors, retailers, trailer manufacturers, and parts manufacturers. Purchase directly from us or our authorized dealers original GO Trailer replacement parts.