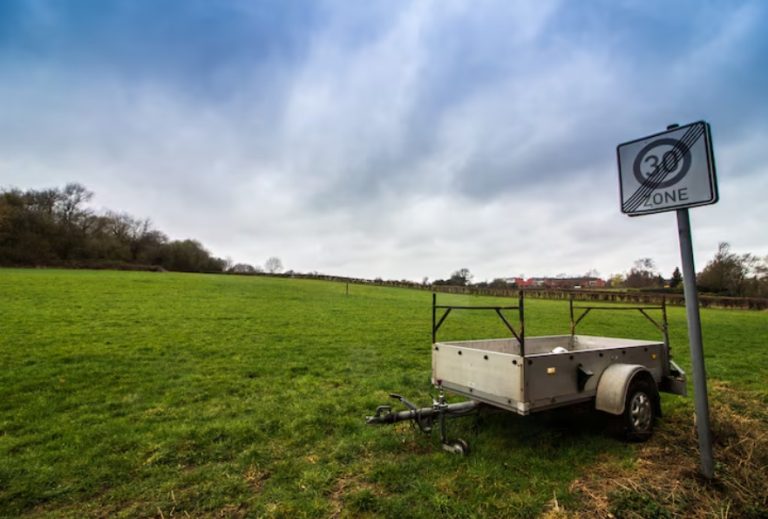
Connecting a trailer to a vehicle requires careful attention and proper technique to ensure safety on the road. Here are a few steps to follow when connecting a trailer.
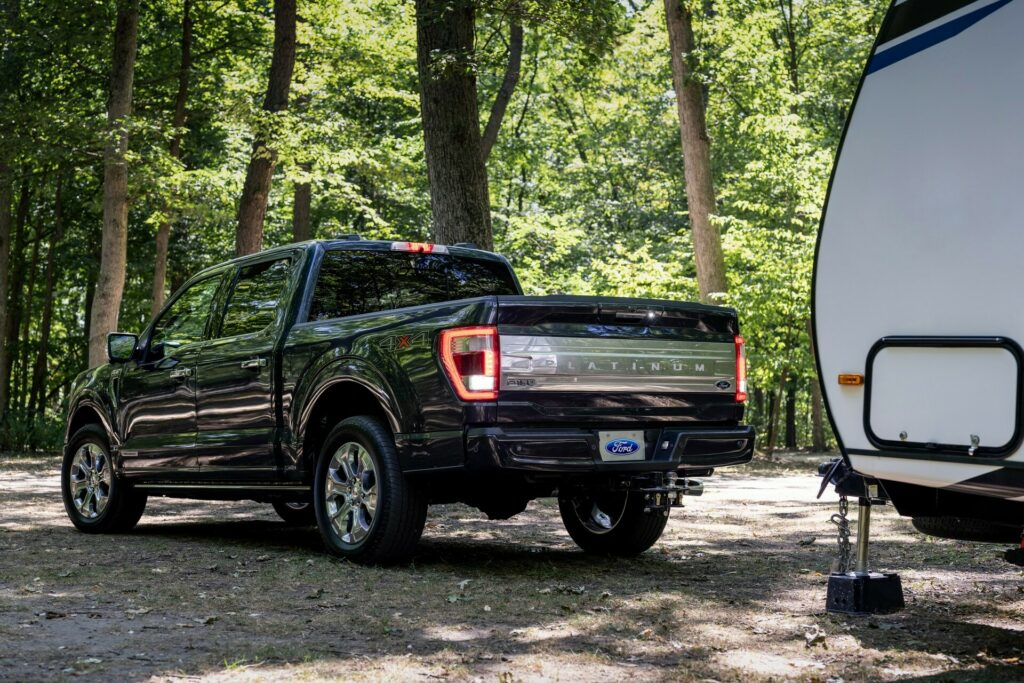
Firstly, ensure that the trailer hitch and the vehicle’s hitch receiver match. It is crucial to have the correct size and type of hitch to ensure a secure connection. Next, align the trailer coupler with the hitch receiver and lower it onto the ball mount. Make sure the coupler is properly seated on the ball mount and securely locked in place.
Once the coupler is connected, attach safety chains to the designated points on the vehicle. These chains act as a backup in case the trailer becomes disconnected from the hitch. Cross the chains under the trailer tongue to create a cradle shape, preventing the tongue from hitting the ground if it becomes detached.
After attaching the safety chains, connect the trailer’s electrical plug to the vehicle’s electrical outlet. This allows the trailer’s lights, brakes, and turn signals to function properly. Test the lights to ensure they are working correctly before hitting the road.
Lastly, inspect the trailer to ensure all connections are secure and tight. Check the tire pressure, wheel bearings, and trailer brakes if applicable. It is also essential to distribute the load evenly and secure any cargo within the trailer.
Remember, proper trailer connection is crucial for safe towing. By following these steps and paying attention to detail, you can ensure a smooth and secure towing experience.