Trailer taillights are necessary for safety and to be a legal road user. Broken or faulty lights not only increase the chance of an accident but can also result in traffic penalties. Replacing your trailer taillights is simple and a do-it-yourself operation that can be done in less than an hour. This handbook will walk you through it step by step, from removing outdated lights to adding new ones like Go Trailer LED Taillights, so your trailer will always be safe and ready to go.
What You Will Need (Safety First)
To begin, you must obtain the following tools and materials:
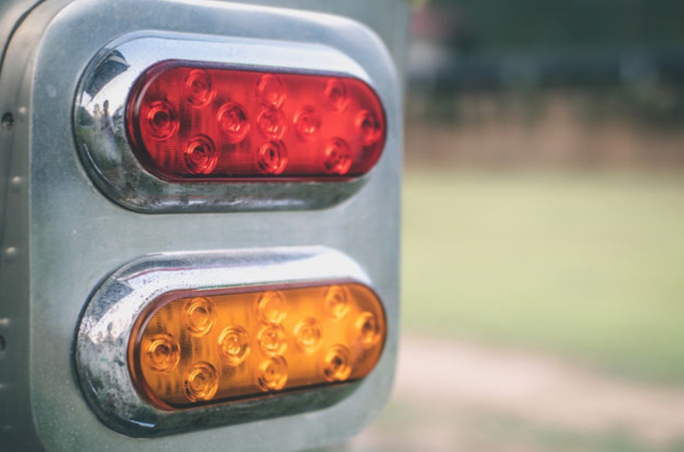
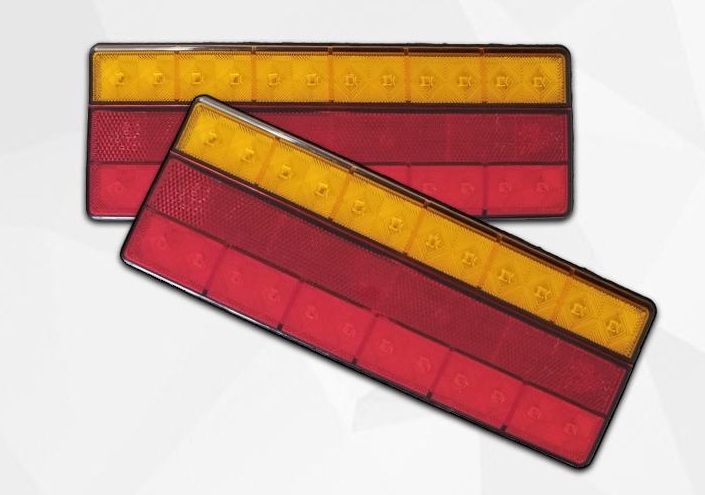
- New taillight assemblies (like Go Trailer LED Taillights).
- Phillips and flathead screwdrivers.
- Wire strippers and crimpers.
- Electrical tape or heat shrink tubing.
- Waterproof connectors.
- Multimeter (to check voltage).
- Mounting screws or bolts.
Safety Precautions:
- Never leave the trailer unconnected to the towing vehicle to avoid short circuits.
- Use gloves to prevent cuts on sharp edges.
- Use safety glasses when drilling or cutting.
- Place the trailer on a flat surface and block the wheels using chocks.
Durable parts such as Go Trailer’s CE-approved lights give long-term endurance and extended performance even in harsh conditions.
Step 1: Remove the Old Taillights
- Disconnect Power: Start by disconnecting power to your trailer’s power connector from the towing vehicle. This prevents short circuits inadvertently while fixing wiring.
- Unscrew and Disconnect: Unscrew and take out any screws or bolts securing old taillights using a screwdriver. Pull out slowly without stripping the wiring underneath them.
- Inspect the Wiring: Inspect the wires for frayed, rusted, or burned insulation. Replace worn-out wires before installing new lights to utilize them safely.
Step 2: Learn the Wiring Colors
Standard Wire Color Codes Explained
Trailer wiring tends to follow the following color codes:
- Brown: Tail/running light.
- Yellow: Left turn/brake light.
- Green: Right turn/brake light.
- White: Ground wire.
Double-check against your own diagram always, though, as differences might exist.
Label Your Wires Properly
Strip the wires using wire strippers to expose clean copper tips, and then attach each wire of your new Go Trailer Taillight to its twin on your trailer harness. Use waterproof connectors or crimp terminals to attach them.
Step 3: Install Go Trailer Taillights
Choose the Right Go Trailer Model
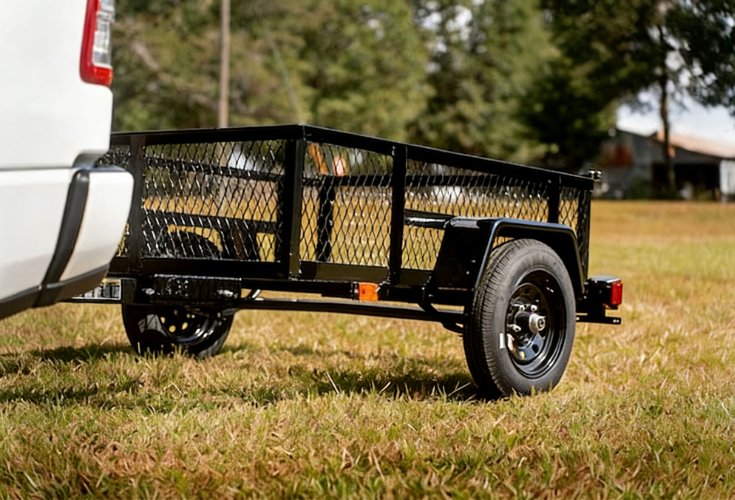
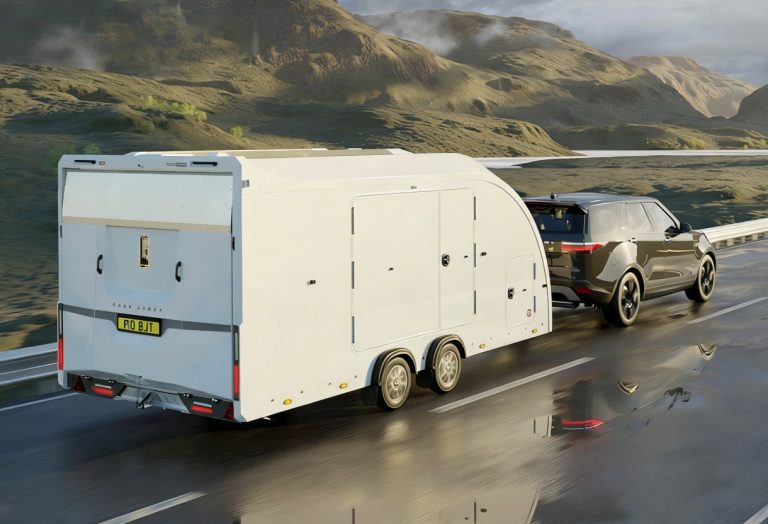
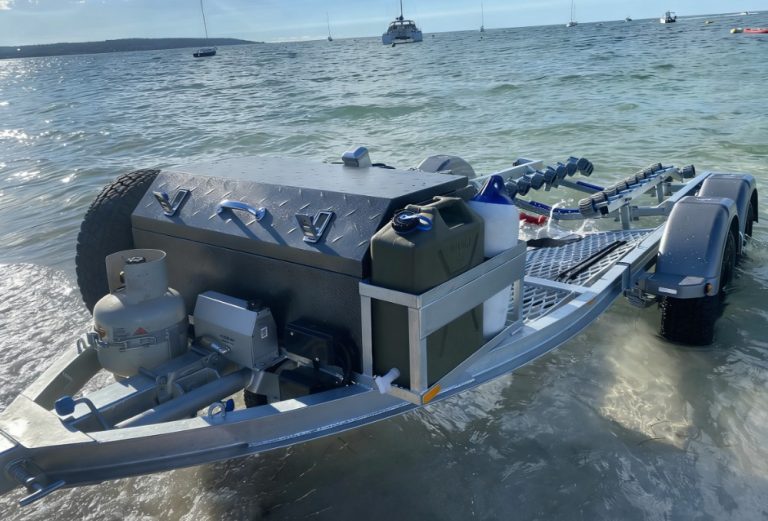
When choosing new lights, choose certified products, such as those from Go Trailer. We hold a CE certificate for trailer parts, meaning international safety standards are adhered to. Our lights are durable, highly visible, and easy to install—perfect for any trailer, such as boat trailers, cage trailers, and ATV UTV trailers. If you still can’t determine which model best suits your needs, contact us personally—we provide customization based on vehicle type and usage scenario.
Tightly Connect Wires
Once wires have been color-coded:
- Twist the wire pairs together.
- Connect with crimp connectors or solder lugs.
- Tightly encase each connection with electrical tape or heat shrink tubing for extra insurance.
Ensure connections are tightened so lights will not flicker if the unit is shaking while in transit.
Seal and Waterproof Connections
Trailer lights are exposed to water constantly, especially in coastal areas. Apply dielectric grease in connectors before closing, using weatherproof heat shrink tubing to prevent corrosion. Our factory uses a professional electrophoresis workshop and spray workshop, which are environmentally assessment certified, so our components are made to withstand extreme weather conditions outdoors.
Step 4: Mounting the New Lights
Mount the Go Trailer Lights in the Right Position
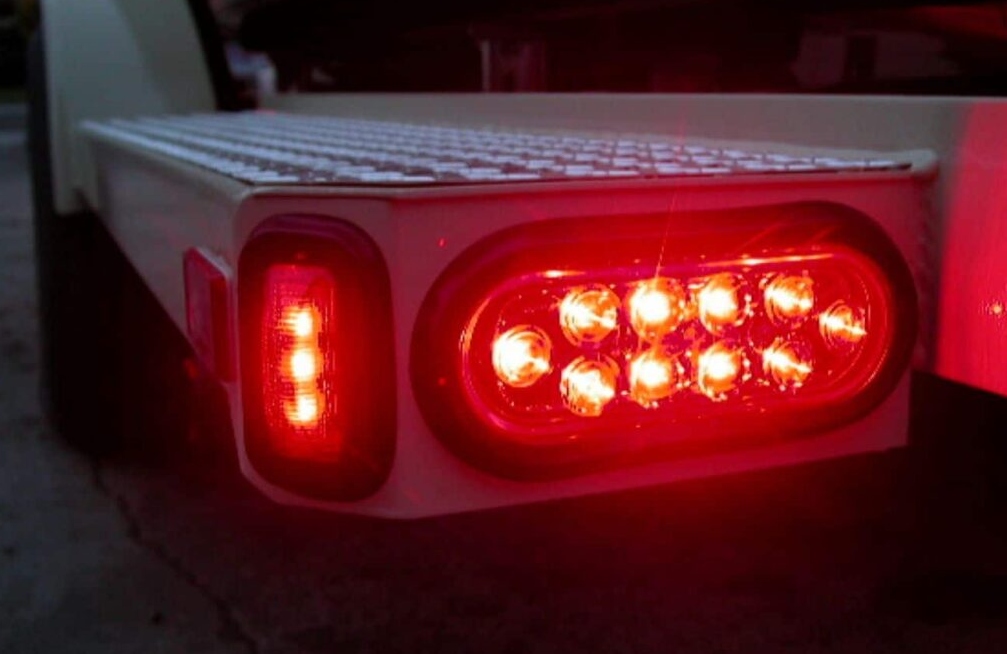
Position your new taillights in the same place the old ones were or as instructed by the manufacturer—most often near the trailer’s rear corners so they can be seen very well. Position them level so brake and turn signals can be clearly seen by other drivers.
Secure with Screws or Bolts
Utilize rust-proof screws or bolts that come with your Go Trailer lighting kit. Harden and do not over-tighten the snap plastic housings. New holes should be treated with a rust inhibitor on bare metal edges before mounting.
Step 5: Testing the New Setup
Reconnect the Power
Place your trailer connector back into your towing vehicle socket after all wiring is done and secure. Turn on your vehicle lights, squeeze on the brake pedal, turn on the turn signals—and test each function separately.
Check All Lights Function
- Headlights turn on, running lights.
- Brake lights light up when braking.
- Turn signals flash correctly on both sides.
- Reverse lights (if equipped) light up when in reverse gear.
If one individual function is failing, double-check wiring connections with a multimeter for continuity of voltage.
Maintenance Tips
- Clean lights: Dirt and salt can cause poor visibility. Clean lenses frequently with soap and water.
- Check connections: Wires become loose due to vibration over time. Inspect periodically behind all taillights and replace damaged wires.
Regular maintenance keeps your trailer in working order and safe on the road. And if you ever have a question, Go Trailer customer service is available to install or troubleshoot.
Conclusion
Whether you are changing out an existing installation or upgrading for better performance, employing quality components such as Go Trailer LED Taillights ensures safety on every journey. With our established quality control process and global distribution chain in Australia, Europe, and North America, we can assure you to illuminate your path forward!
FAQ
Q: Can I replace the Go Trailer taillights myself?
A: Yes, certainly! Our lighting kits are simple to install, even for beginners—just take a close look at these step-by-step instructions.
Q: Are Go Trailer lights waterproof?
A: Certainly, our components are sealed and waterproof with superior quality materials that meet the CE certification standard.
Q: Do you offer custom lighting solutions?
A: Yes, sure. We offer customization by trailer type and application need—size, shape, brightness level, etc.
Q: What if I need help during installation?
A: For providing customers with product usage, maintenance, and other technical support functions, we provide after-sales service via email or by phone—simply give us a call!